If you followed all of the steps in part one you should now have a usable REST operation that can be invoked from VCO. That by itself isn’t very useful so let’s create a workflow that we can use repeatedly. VMware has made this very simple and provided a cheat….a workflow to create another workflow!
Step One – Create the REST workflow
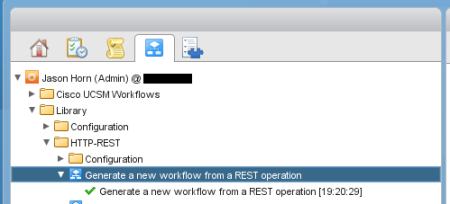
Find and execute the “Generate a new workflow from a REST operation” workflow.
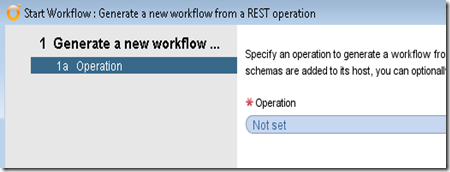
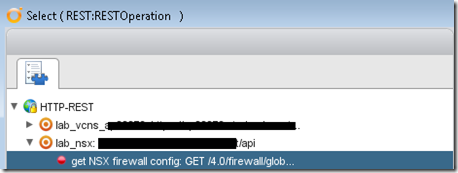
You need to select the REST operation created previously. Click on “Not Set” to bring up the list HTTP-REST operations that have been created. You will need to expand the tree to find your operation.
Select the REST operation.
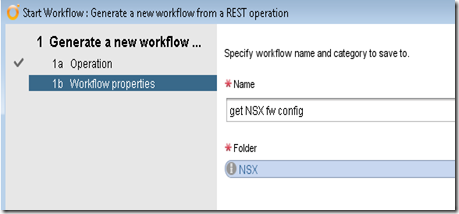
I like to use a friendlier name than the default. You also need to select the folder where you want this workflow placed. I have already created one called NSX.
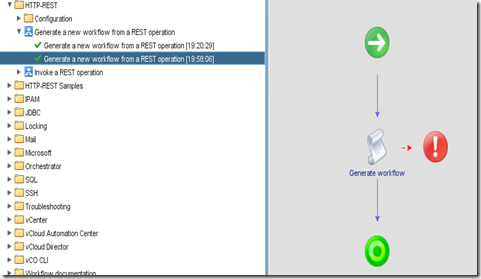
Click submit and if there aren’t any problems you should see the green check mark of success! The schema bulls-eye target will also be highlighted green.
Step Two – Test the new workflow
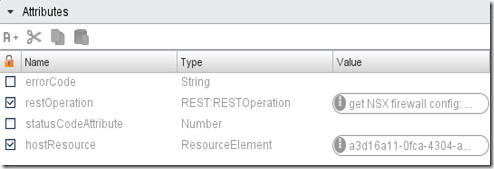
Before we test the workflow, let’s take a look at what was created. Highlight the new workflow and examine the attributes.
Several attributes where created for us. All of them will come in handy later. As you have probably guessed the errorCode and statusCodeAttribute attributes will be used for error handling in the workflow. The restOperation attribute points to the REST operation we want to run in this workflow. The hostResource attribute points to the ID of the REST host that we going to be querying.
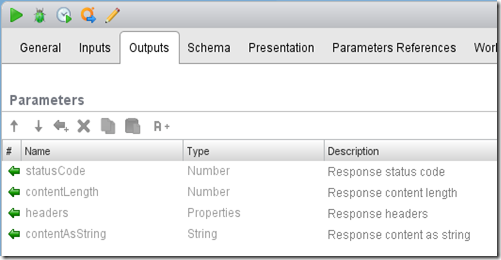
Select “Outputs” in the right pane so we can examine the output parameters.
Four different output parameters have been created. Those are what we will have to work with later on. The parameter contentAsString is of particular interest because that will contain the data from the REST operation that we will need for other workflows.
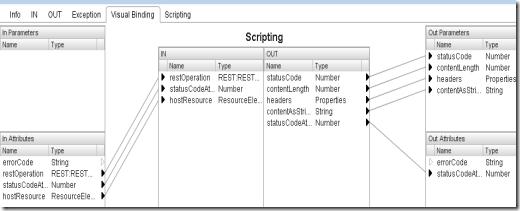
Lets take a closer look at the Schema elements. Select Schema, then select the Scripting element, and then Visual Binding in the right panes.
This view shows the attribute and parameter mappings at a glance. You can see exactly what is being passed to this Scripting task and what will be passed out.
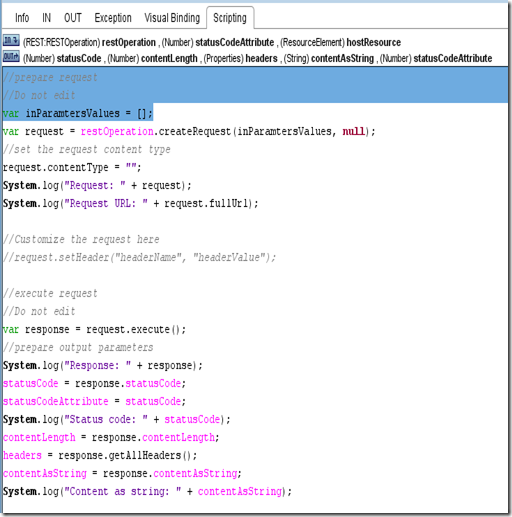
Select the Scripting tab now to see the actual script.
If you are going to be working in VCO it will help to start learning some JavaScript. This script doesn’t need to be modified at all for our purposes. It is essentially creating the REST operation, logging details about the request and the response from the REST host, and placing the response in the variable contentAsString.
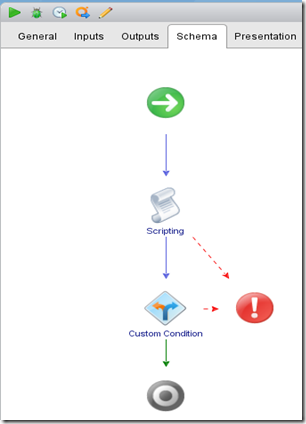
Lets go back to the Schema tab and look at the entire workflow.
You will see a couple of other objects. If the Scripting or Custom Condition tasks have an error they will stop the execution of the workflow. The Custom Condition task is checking the HTTP response code from the REST host that we will be querying.
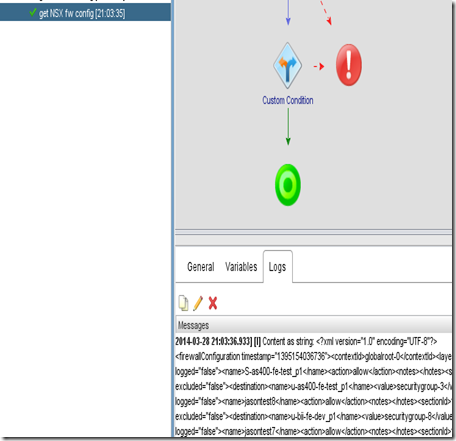
Ok, finally, lets conduct an actual test. Select your workflow and run it. If all goes well you will see the green check mark of success and in the logs you should see some of the XML output that we just queried from the NSX manager.
Stay tuned for part three…this is just getting started.
great post, thank you for this.